How to Make Chocolate Dipped Hazelnut Shortbread Cookies
This is a sponsored post written by me on behalf of Bob’s Red Mill.

I found this recipe in The Gourmet Cookie Book, which I’ve had for about a decade. Although I love looking at all the gorgeous cookie pictures, I haven’t actually made many of them before. Shortbread cookies remind me so much of the holiday, so I thought it was about time I try out one of these recipes. The original recipe called for walnuts, but I opted to do a hazelnut version.

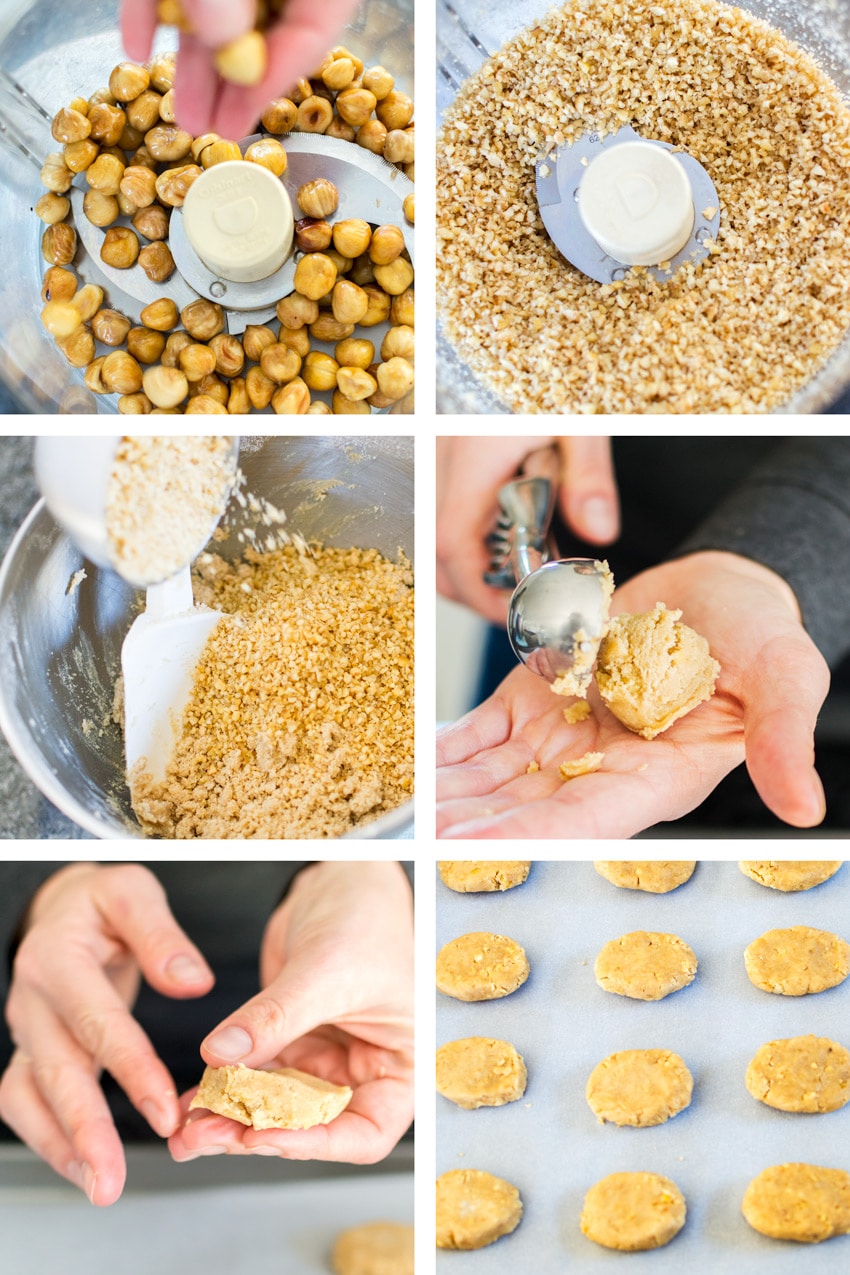
Once I had the hazelnuts peeled, I roasted them in the oven for about 15 minutes to dry them off and also bring out more of their natural flavors. Once the nuts were out of the oven, I put them in a food processor to make them finely ground. If you can’t find hazelnuts at your store, you can definitely use another kind of nut. The original recipe called for walnuts, but you could also swap in almonds, or maybe even mixed nuts.


These chocolate dipped hazelnut shortbread cookies are so delicious. Besides the effort of preparing the hazelnuts, the cookies themselves were actually super easy to make. I really can’t wait to share this recipe with my coworkers. I’m planning to bring them into the office this week, and I’m sure they are going to be a big hit.

Chocolate Dipped Hazelnut Shortbread Cookies
For Cookies:
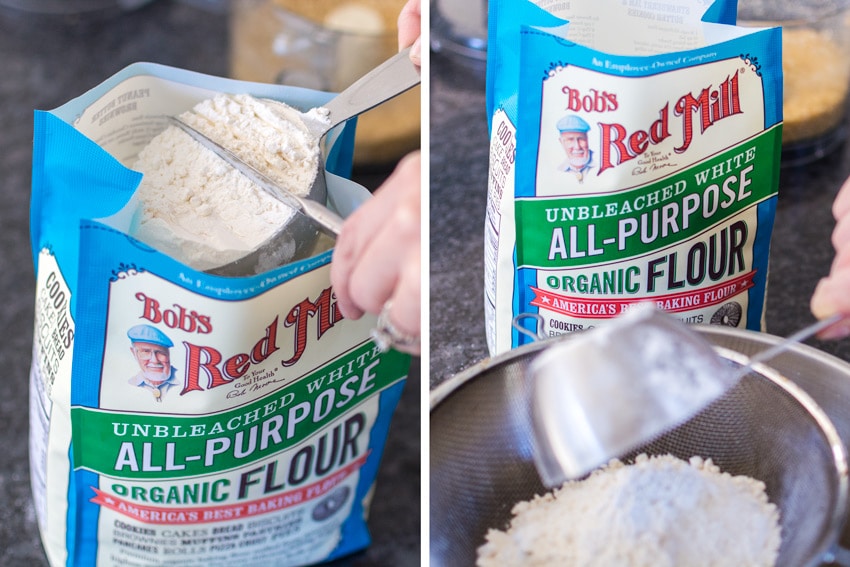
2 Cups Bob’s Red Mill Organic All Purpose Baking Flour
½ Teaspoon Baking Powder
¼ Teaspoon Salt
2 Sticks (1 Cup) Unsalted Butter, Softened
¾ Cup Packed Light Brown Sugar
1 Teaspoon Vanilla
1 Cup Finely Chopped Hazelnuts
For the Decoration:
1 Cup Semisweet Chocolate Chips
¼ Cup Chocolate Hazelnut Spread
½ Cup Finely Chopped Hazelnuts
Cookie Directions:
Preheat the oven to 375.
Sift together the flour, baking powder and salt. Beat together the butter, brown sugar, and vanilla until pale and fluffy (you can use a stand or hand mixer). Slowly mix in the flour at a low speed, until incorporated. Stir in the hazelnuts.
Form 2 teaspoon dough into oval or egg-shaped discs. Arrange them on inch apart on a parchment-lined baking sheets. Bake in batches in middle of the oven until undersides are light brown, about 10 minutes. Transfer to a cooling rack.
Decorating Directions:
Melt the chocolate chips in the microwave, stirring every 30 seconds, until melted (mine took about a minute and a half). Stir in the chocolate hazelnut spread, until incorporated. Dip half of each cookie in the melted chocolate and then sprinkle the chopped hazelnuts to cover the end. Place each coated cookie on a wax paper-lined baking sheet until set.
Decorating Tip: If you want the chocolate to be very firm, you will want to either 1) skip using the chocolate hazelnut spread, and just dip them in chocolate or 2) keep them in the refrigerator, so they are nice and firm. The chocolate hazelnut spread keeps the chocolate from getting very hard, but if you put them in the fridge, they will be nice and hard.
This is a sponsored post written by me on behalf of Bob’s Red Mill.

One Comment