This Super Adorable Homemade Lion Costume is as Easy as it is Cute

Why would as busy woman like myself take on the task of making a homemade lion costume for my son?
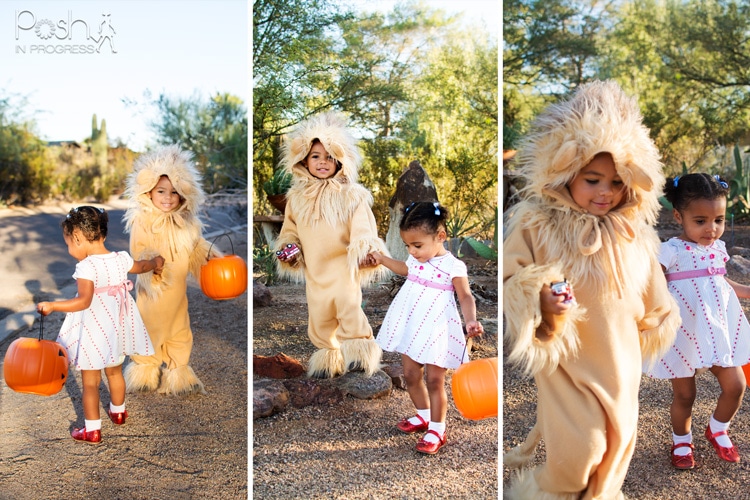
Making DIY Halloween costumes is a for our family. In mid-September, my hubby and I started brainstorming ideas of what the kids should be for Halloween this year. Since Gigi is old enough to walk on her own this year (I carried her in the Bjorn last year), we immediately began thinking about ‘couples’ costume ideas — in the sense of having two children, close in age, of both sexes (in case you’re looking for couples costume ideas). We finally settled on a homemade lion costume for my son and a Dorothy costume for daughter.
Why Wizard of Oz you ask? Well, when I got back from London, I brought Rocco and Gigi both stuffed Lions from the London zoo. My son regularly growled at us because of it, so we figured that a little homemade lion costume would be perfect. I set out to create both of the kids’ costumes myself (last year I made Rocky the Flying Squirrel costume for Rocco), so I figured I could handle it.
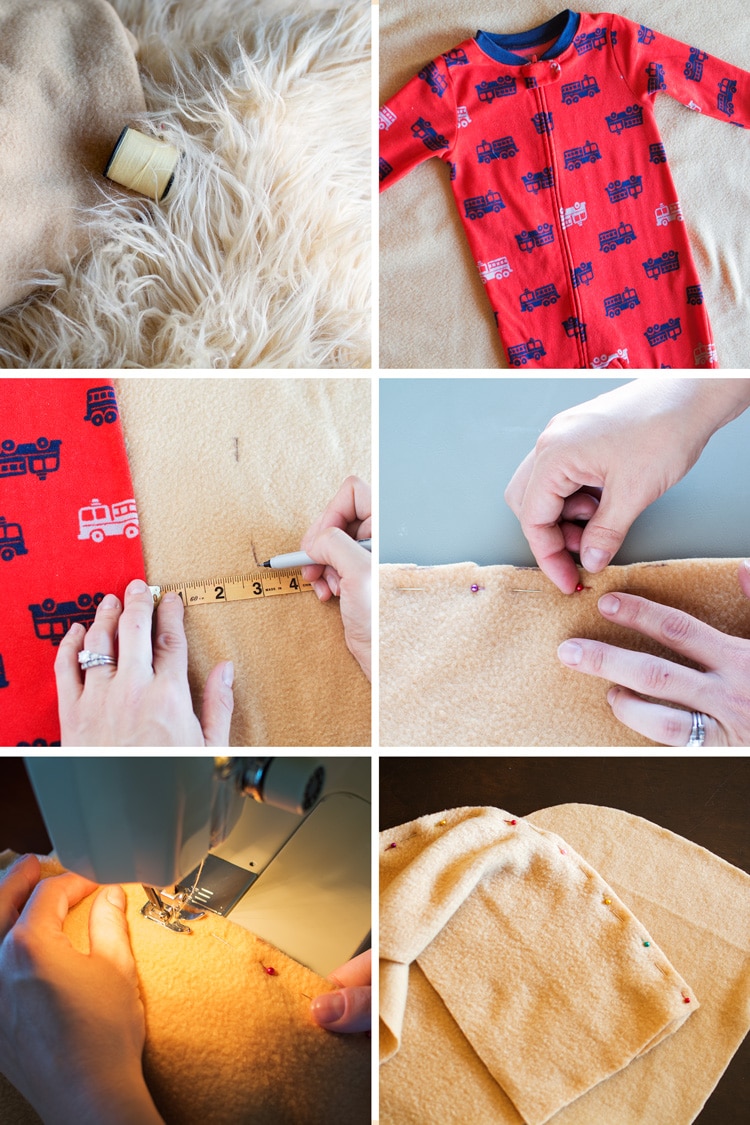
I headed out to the fabric store and found some brown fleece in the sale section. Fleece is simple to sew and I figured it would give a bit of a furry look to the costume. The first store I tried didn’t have fur that looked very lion-like, so I checked out a local fabric store and found some longer tan fabric that I thought would be perfect for the costume.
To make the body for this extremely homemade lion costume, I took a pair of my son’s pajamas to get a general size. My husband kept nagging me to simply take measurements of my child, but given that he never sits still, I opted to just use his clothing. If you choose something your child currently wears, it will give you a good idea for length and width. I always over-estimate on width because, last year, I made his body way too thin and ended up ditching the first attempt. If you feel like you need a pattern, check out this simple baby costume pattern.
This time around, I cut a full three inches extra around the entire costume to ensure it was large enough. Then I sewed around the body, leaving the arm, leg and neck holes open. Once the entire thing was sewed shut, I cut down the center of the back and asked my son to try it on. The sides were too big, so I ended up taking in about an inch on both sides and also took the length of the arms and legs up about an inch.
To add some fur to the arms, leg and neck, I just traced on the back of the fur while laying it on top of the body costume. After cutting a four – inch piece for each of the arms and legs and a half-circle (using a large bowl) for the front and the back of the neck, I hand-stitched the fur onto the fleece. The sewing machine wasn’t an option because it would get caught-up in the long fur, so fabric glue to held the fur in place.
For the tail, I simply cut out a long three-inch-thick strip of fabric and sewed it shut. Once it was closed, I used a pencil to turn it inside out, to hide the seam. I only pushed it half-way through so the fabric was doubled-up inside the tail, which gave it a stiffness, instead of stuffing the tail with stuffing. I glued and hand-stitched a piece of the fur to the end of the tail and then hand-stitched the tail to the back of the costume, at the bottom of the center opening.
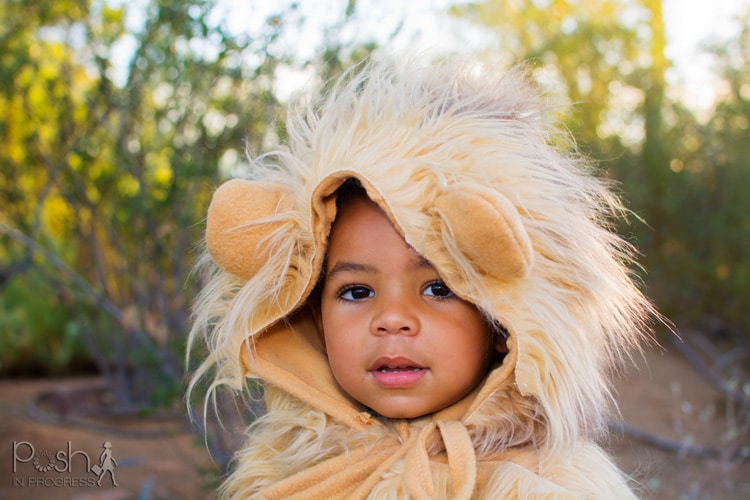
The most complicated part of this costume is the hood, but it was pretty straight-forward using this hood pattern for reference. If hand-drawing the hood isn’t for you, you could also blow-up this pattern if you felt less confident in hand-drawing from this picture as a reference. I cut out the two sides and then measured a four-inch panel for the middle of the hood. I secured the three pieces with stick pins and then sewed the two sides to the middle piece.
Once it was all sewn together, the bottom was not quite even, so I simply just used a scissors to make it even. I made the hood a little too large so I could try it on Rocco and took in the seams a bit more to make it fit a bit better.
I attached fur to the hood in two main pieces, and covered the back to the top of the head and the top of the head simply by laying the fur over the hood and eye-balling it for measurements. Part of the hood was a little off, so I just cut a small piece of fur to fill in that space. Luckily, the fur is long and pretty forgiving, so you can’t really see my mistakes. I used a dark brown marker to color the back half of the hood.
It probably took about an hour to color the entire thing, but I think the effect is really great. The darker color adds dimension and depth to the hood. To complete the hood, I just attached two long-thin pieces of fleece so I could tie the hood on Rocco’s head. If my eye-balling ‘method’ seems too complicated, you might also like to check-out this easy fur animal hoods tutorial, which seems pretty straight-forward to follow.
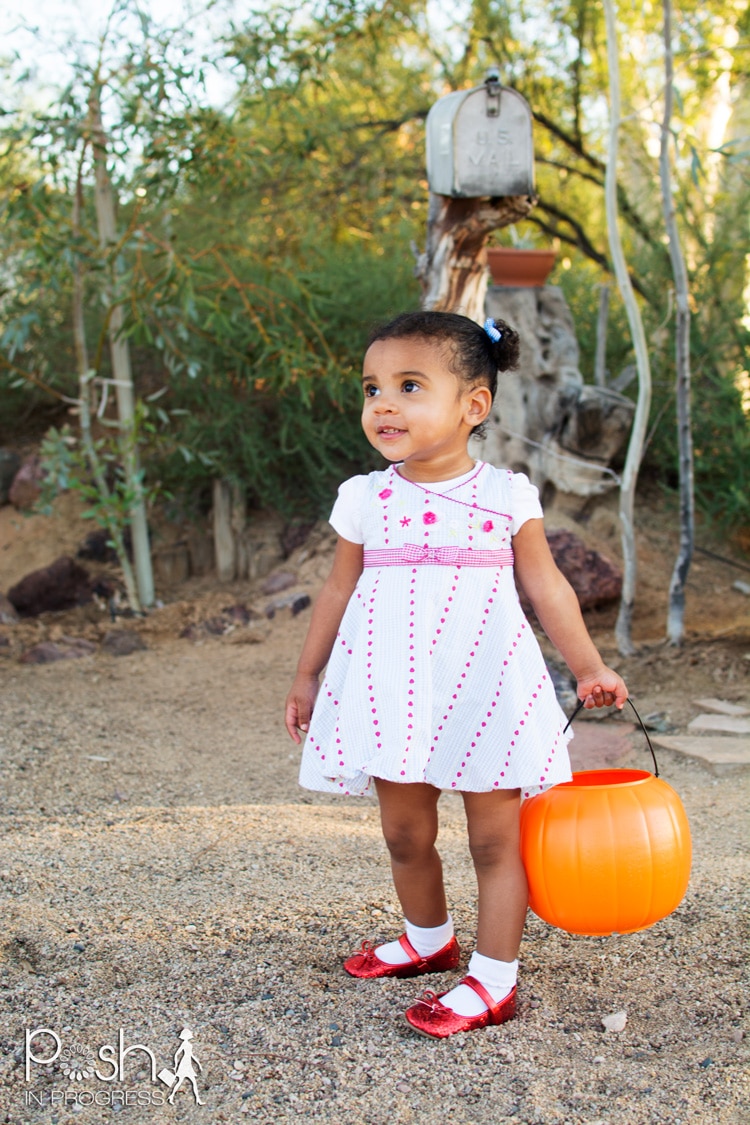
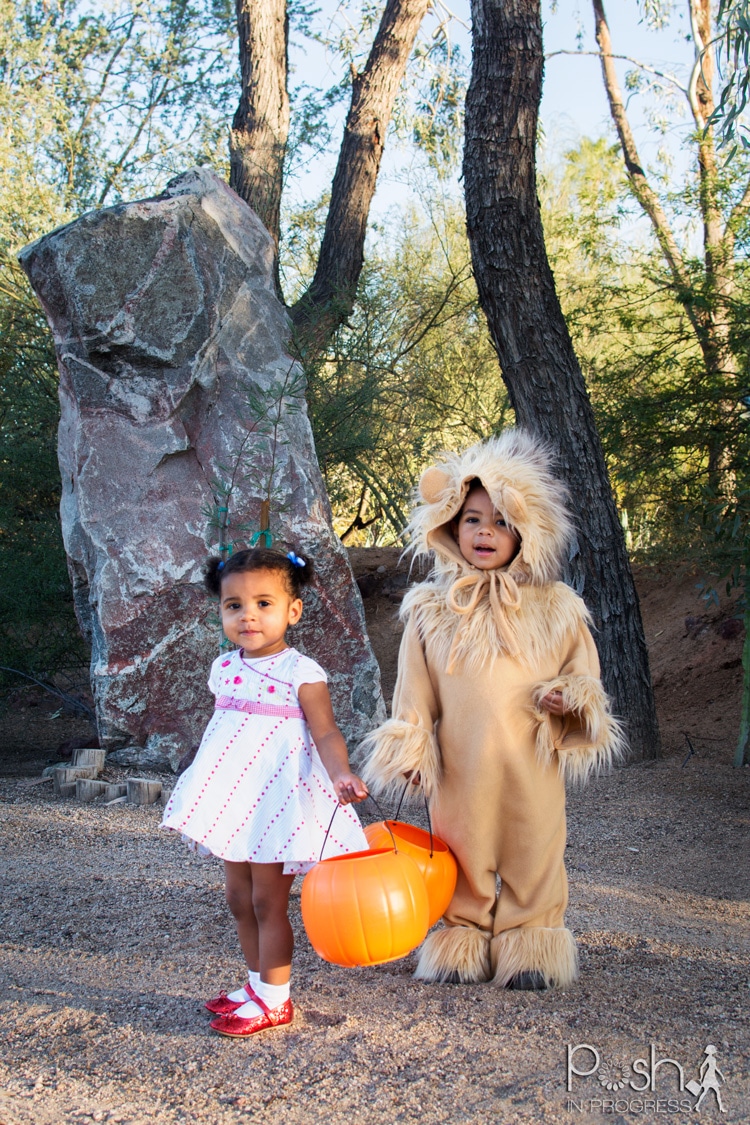
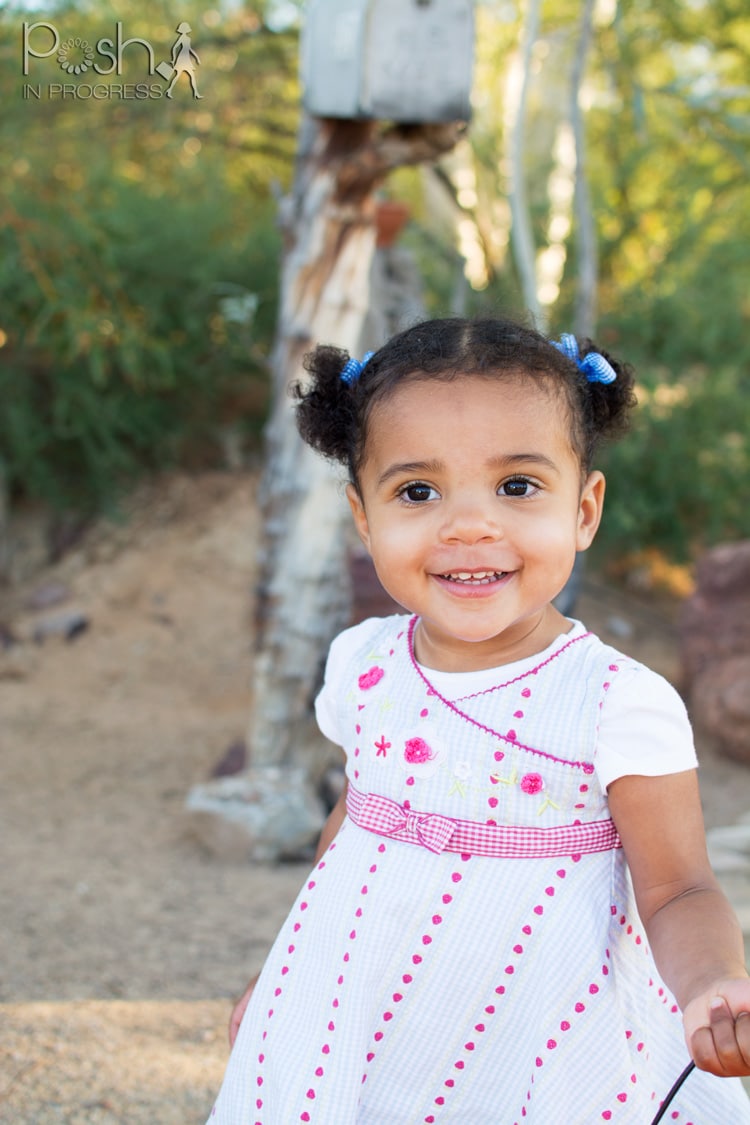
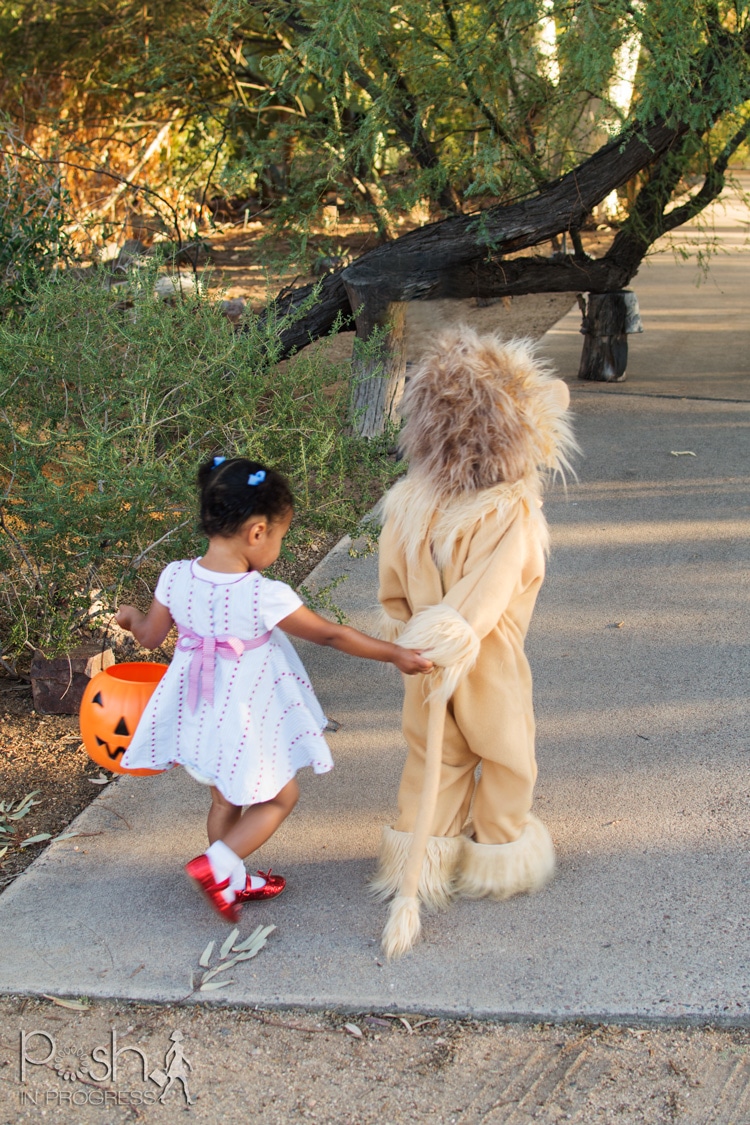
When I started making Gigi a dress for her Dorothy costume, I had been traveling a lot for work and ran out of time. We opted to let her wear her cutie pie babydoll gingham dress, bows in her hair and, of course, the sparkly red shoes.
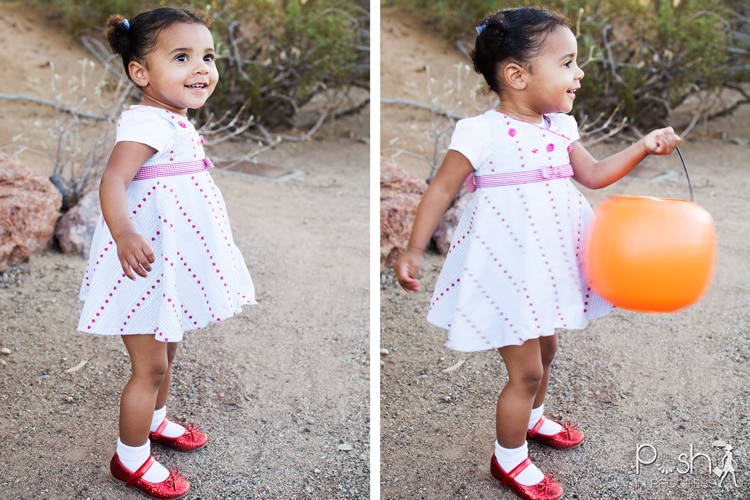
I feel like it is a little bit of a cop out since I didn’t finish her dress, but she was completely happy in her little dress and shoes. I think the pictures of her swinging her pumpkin is proof of just how much she loves her costume.
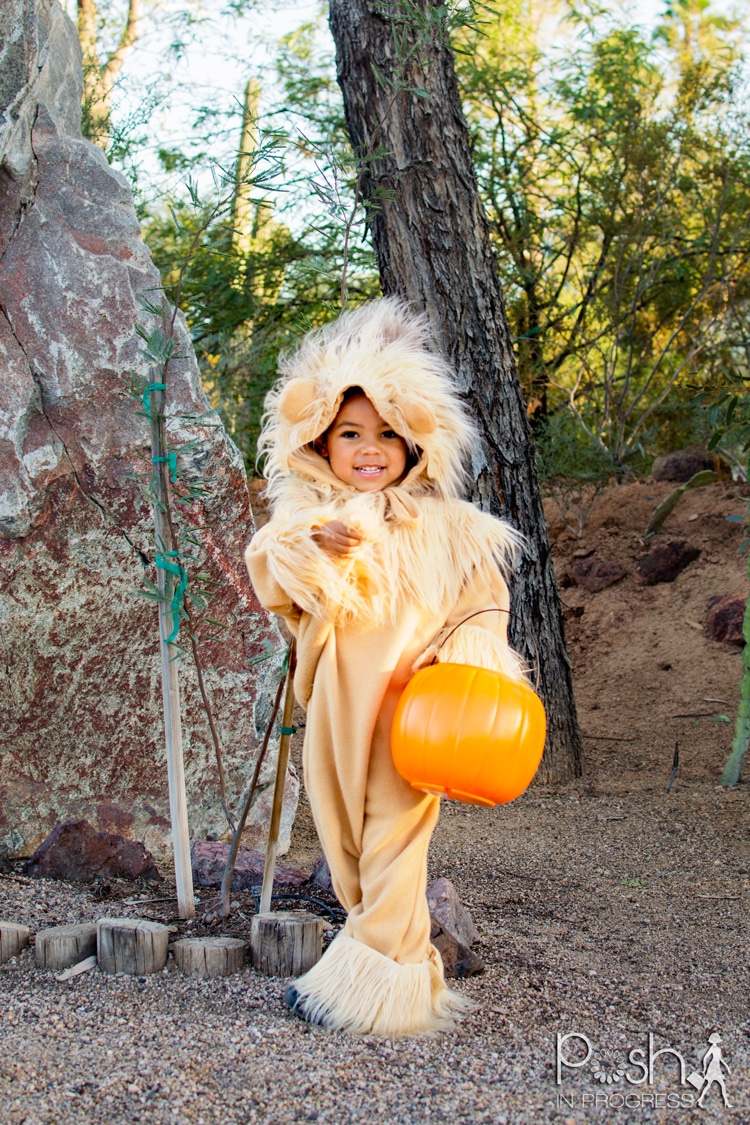
As for Rocco, we were quite worried he wouldn’t actually wear his cute little homemade lion costume. Getting him to try it was while I was worked on it was easy, getting him to take it of was the hard part!

So how did we get him to wear it? Well, we broke out the big plastic pumpkins and told him that we were going to ‘practice’ trick or treating. Last year, he had no idea what trick-or-treating was all about, but this year, he is super excited to go. I think the change actually came about by reading this Boo book. He loves it. We have read it every single night since Grandma sent it to him for his birthday.
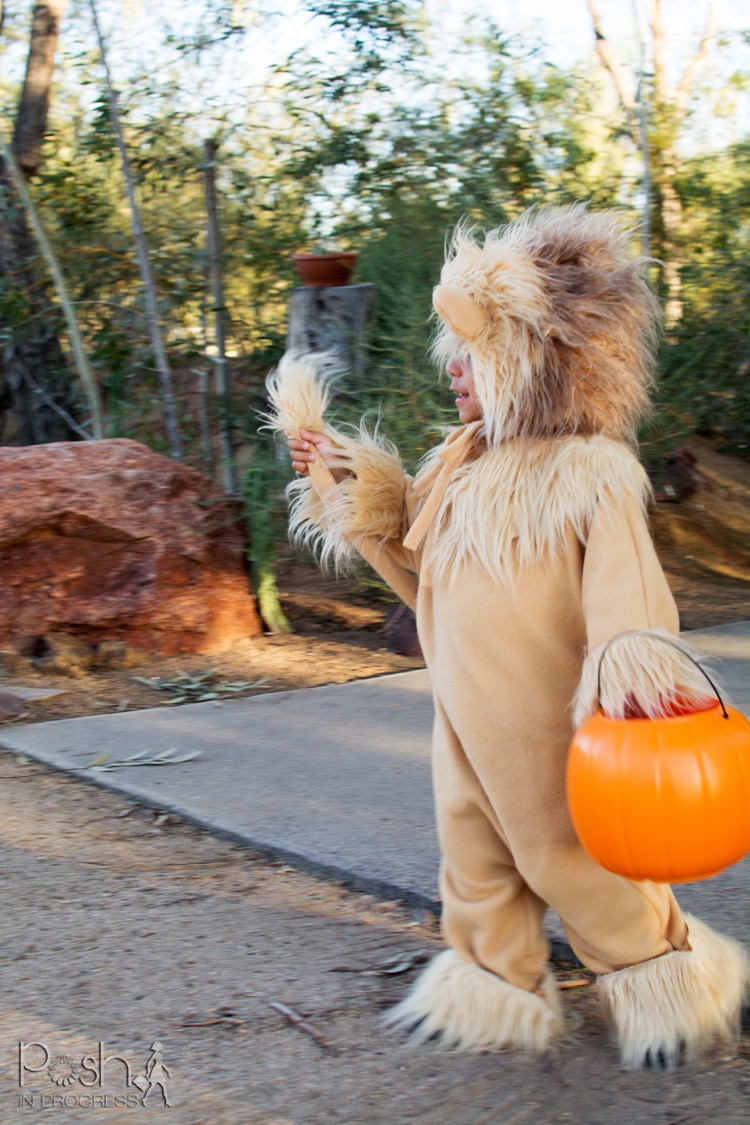
The day we took the kids out for practice was actually a lot of fun. Gigi stomped around in her red shoes and Rocco held her hand and led her around the neighborhood. I’m so glad he loves his costume and is excited to celebrate Halloween this year. It makes all the effort in making his homemade lion costume so worth it.

This site uses selective affiliate links, which means a commission is earned if you make a purchase via the link. The price you pay will be the same whether you use the affiliate link or go directly to the vendor’s website using a non-affiliate link.
Our editorial content is not influenced by advertisers or affiliate partnerships. We appreciate, and thank you for, your support!