Crafting Chic: DIY Makeup Bag with Cricut and Infuseable Ink
Are you a makeup enthusiast looking for a fun and personalized way to store your cosmetics? Or perhaps you’re searching for the perfect handmade gift for a friend who adores all things beauty-related? In this DIY tutorial, I’ll guide you through Cricut makeup bag ideas. I’ll show you how you can make a DIY makeup bag using the versatile Cricut machine and vibrant Infuseable Ink.
How to Make a DIY Makeup Bag Using a Cricut
Before you begin, let’s gather all the materials needed for this project:
Cricut cutting machine (I used the Joy)
Infusible Ink transfer sheets
Blanks makeup bags
Cricut EasyPress or heat press
Scissors
Mat
Weeding tools
Butcher Paper
Step 1: Design Your Creation
The first step in creating your personalized makeup bag is to design the artwork or pattern you want to transfer onto the bag. Open up your preferred design software (such as Cricut Design Space) and let your creativity flow! You can choose from a myriad of pre-made designs or create your own from scratch. I found all three of the designs I used on the Cricut Design Space app. Since I had the membership, they were included. If you don’t have a membership, you can always pay for each individual design or design your own.
Step 2: Prepare Your Infusible Ink Transfer Sheet
Once your design is finalized, it’s time to prepare your Infusible Ink transfer sheet. Place the sheet onto your cutting mat with the ink side facing up. Load the mat into your Cricut machine and let it work its magic as it cuts out your design with precision. I read this tutorial and watched the YouTube videos embedded in the story since it was my first time using the infusible ink. If you are printing something with writing, make sure your mirror is turned out before you print.
Step 3: Weed Your Design
Once your image is printed, you can cut the excess paper with your scissors. Then, carefully remove the excess Infusible Ink material from around your design using your hands or weeding tools. Take your time with this step to ensure that your design is clean and crisp. I actually was able to weed the majority of the design just with my hands. You’ll find the infusible ink paper is on the thicker side. But for those smaller designs or the little material in the middle of letters, it is helpful to have a weeder.
Step 4: Preheat Your Blanks Makeup Bag
Before applying your design, preheat your blank makeup bags with a Cricut EasyPress or heat press. This step helps to remove any moisture and wrinkles from the fabric, ensuring optimal transfer results.
Step 5: Position and Secure Your Design
Place your weeded Infusible Ink design onto the preheated makeup bag, ensuring it is centered and positioned as desired.
Step 6: Transfer Your Design
Now it’s time to bring your design to life! Set your Cricut EasyPress or heat press to the recommended temperature and time settings for Infusible Ink transfers. Mine was suggested at 385, but do check the Cricut website for your particular material. Place a protective sheet of butcher paper or parchment paper over your design to protect it from direct heat. I placed a piece of butcher paper inside of the cosmetic bag and also on top of the design so that none of the ink would seep through the bag or onto the press.
Step 7: Apply Heat and Pressure
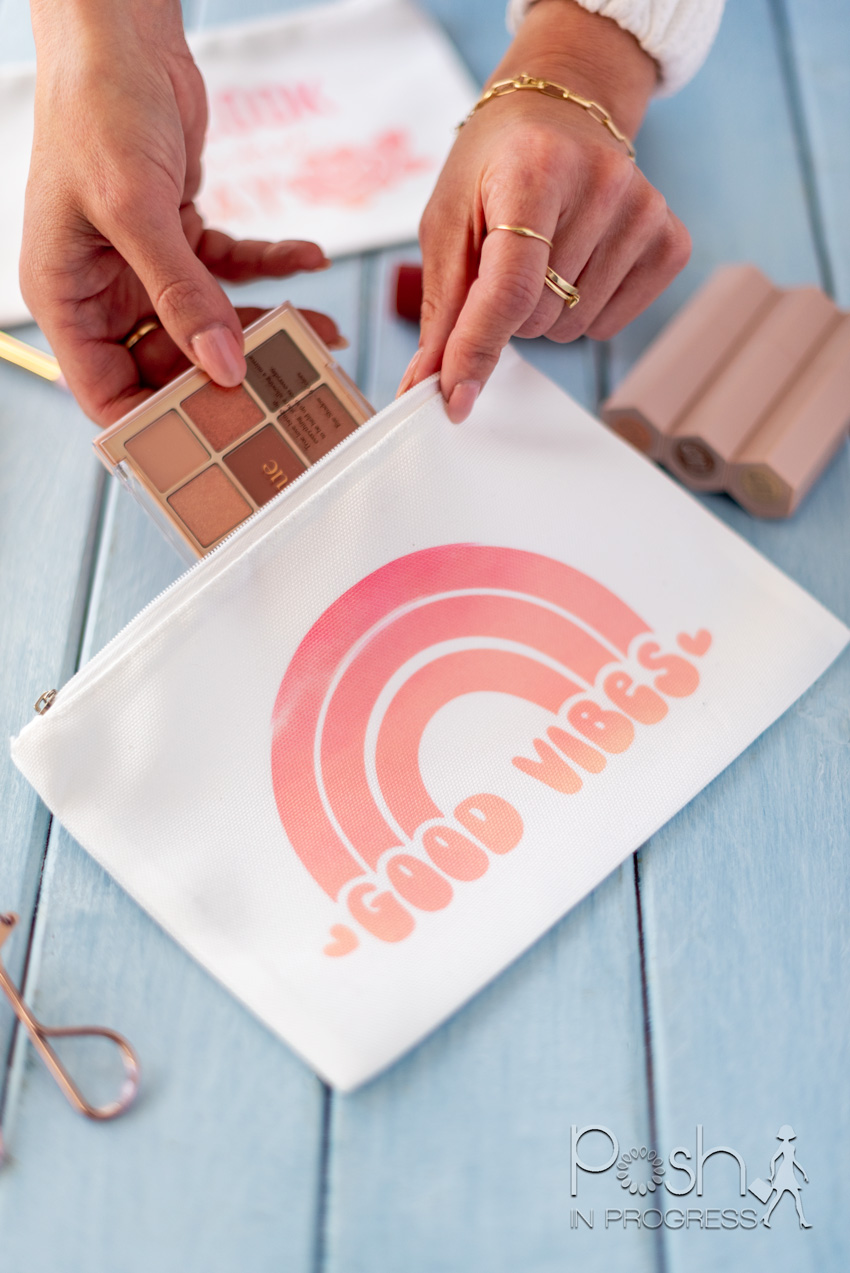
Once your heat source is heated to the appropriate temperature, carefully apply heat and pressure to your makeup bag, ensuring even distribution across the entire design. Follow the recommended time guidelines for your specific materials to achieve vibrant, long-lasting results. Ensure you press evenly to make sure that the entire graphic gets set. The first time I did my ‘good vibes’ bag, part of the top of the rainbow didn’t set, so I had to re-press that portion, which made for a not-so-perfect final product. I still love how it turned out, but it does have a slight flaw.
Step 8: Let It Cool
After the transfer process is complete, allow your makeup bag to cool completely before handling it. This step is crucial to ensure that the ink fully sets into the fabric, resulting in a durable and washable design.
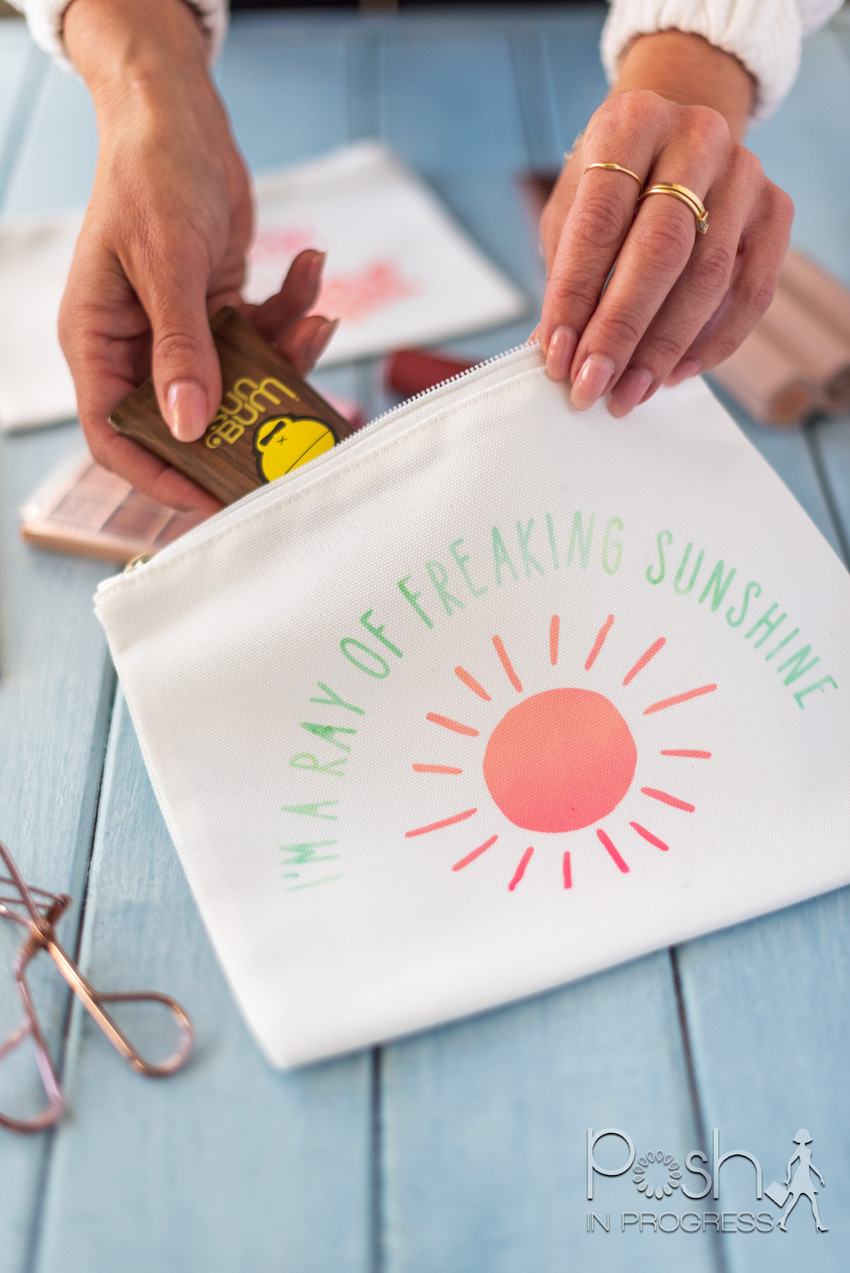
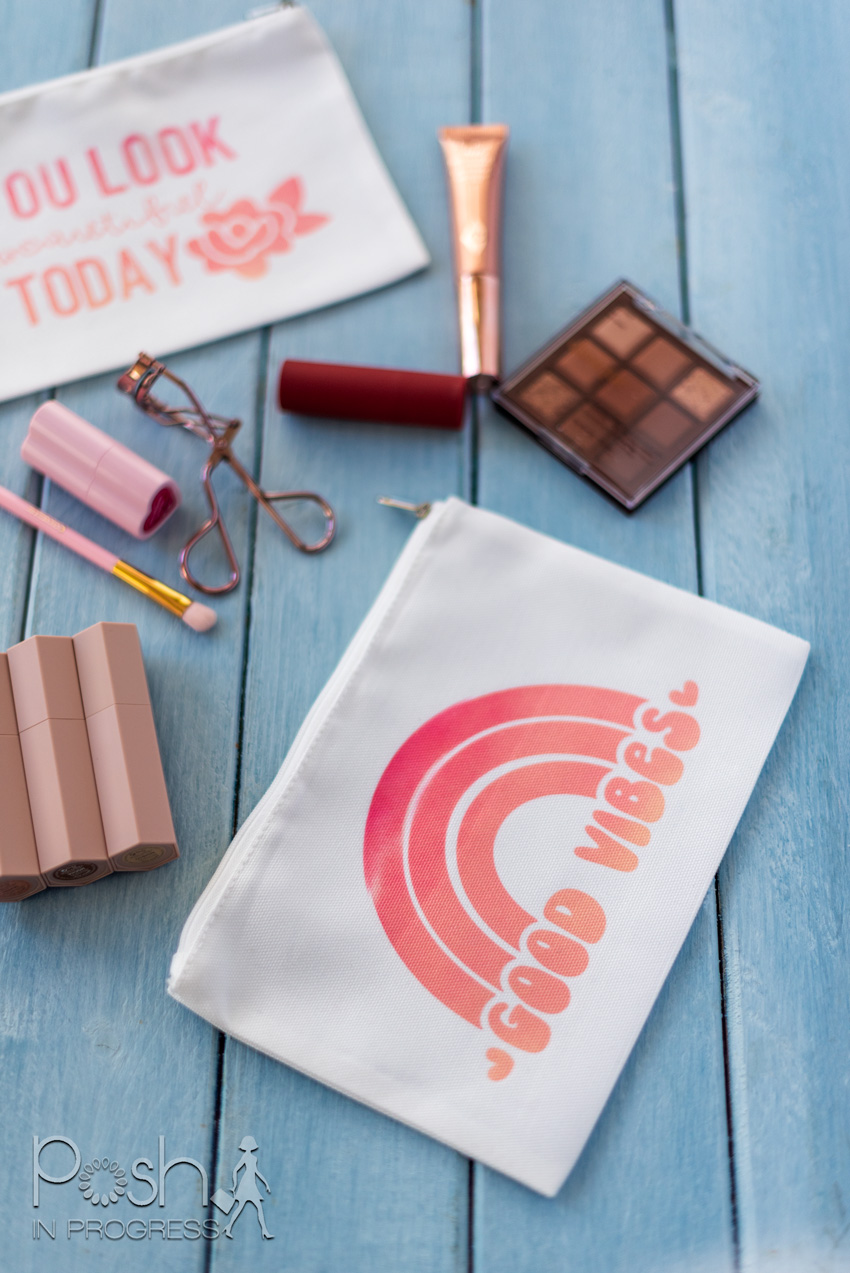
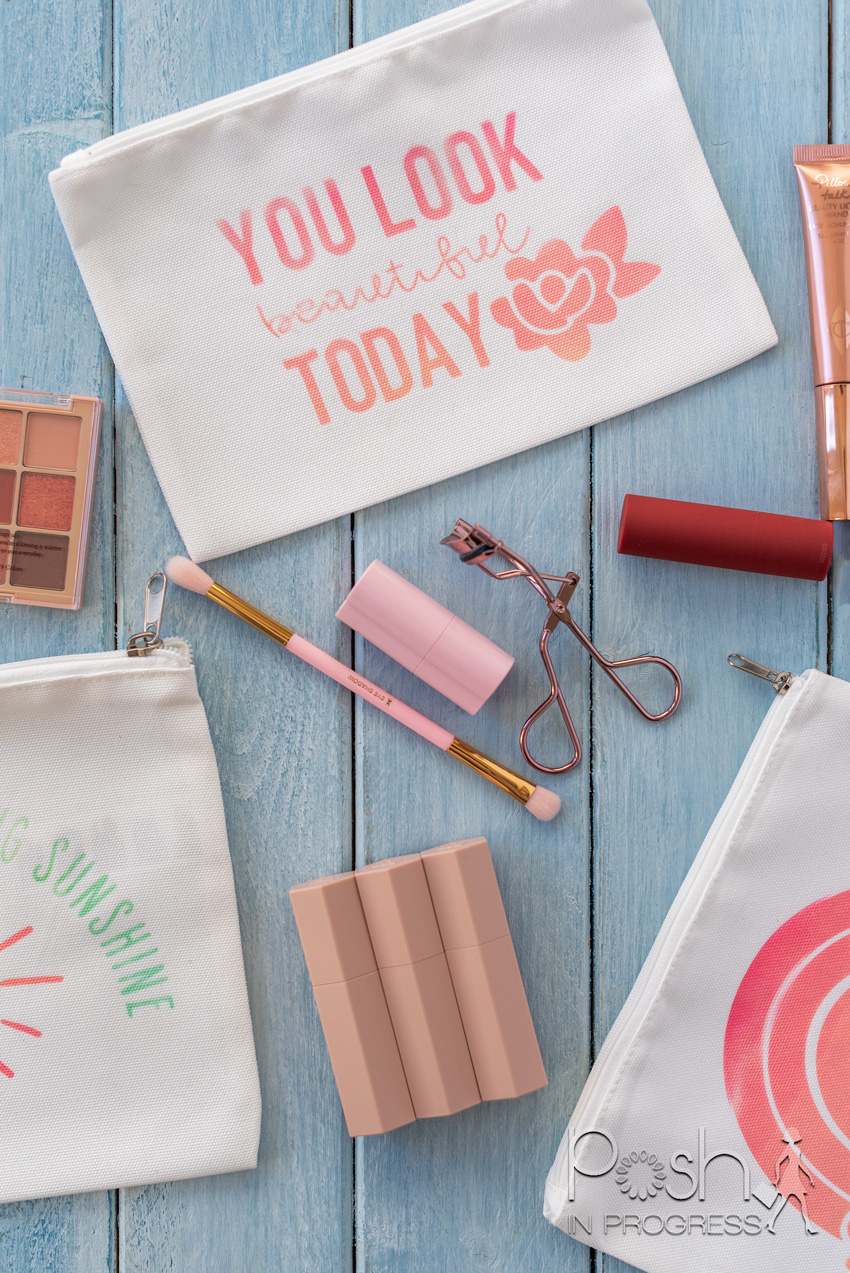
Step 9: Fill Your DIY Cosmetic Bag with Your Favorite Products
With your DIY cosmetic bag complete, it’s time to fill it with your favorite makeup and beauty essentials! Whether you’re organizing your daily essentials or preparing for a weekend getaway, your personalized makeup bag is sure to add a touch of style to your beauty routine.
Final Thoughts
In conclusion, creating your own DIY makeup bag using the Cricut machine and Infusible Ink is a fun and rewarding project that allows you to unleash your creativity and express your unique style. By following these simple steps, you can design and personalize a chic cosmetic bag that is as functional as it is fashionable. So gather your supplies, fire up your Cricut machine, and let your imagination soar as you embark on your crafting adventure!
Whether you’re making a DIY cosmetic bag for yourself or as a thoughtful gift for a friend, this project is sure to delight beauty enthusiasts of all ages. So why wait? Grab your Cricut and get crafting today!
Looking for other Cricut projects, click here.

This site uses selective affiliate links, which means a commission is earned if you make a purchase via the link. The price you pay will be the same whether you use the affiliate link or go directly to the vendor’s website using a non-affiliate link.
Our editorial content is not influenced by advertisers or affiliate partnerships. We appreciate, and thank you for, your support!
.jpg)


