How to Make This Italian Fig Cookies Recipe (Cuccidati)
One of my very favorite things to do during the holidays is to bake. I love trying different cookies, cakes, bread, and bar recipes. Over the years, I’ve tried to find different Italian recipes as a way to learn more about my cultural heritage and feel a connection to my Italian roots. My grandparent immigrated to the U.S. before my dad was born. They died when I was quite young, so connecting to my heritage through food and travel is how I’ve tried to make that connection. This Italian fig cookies recipe is the newest in a line of Italian recipes I’ve made lately.
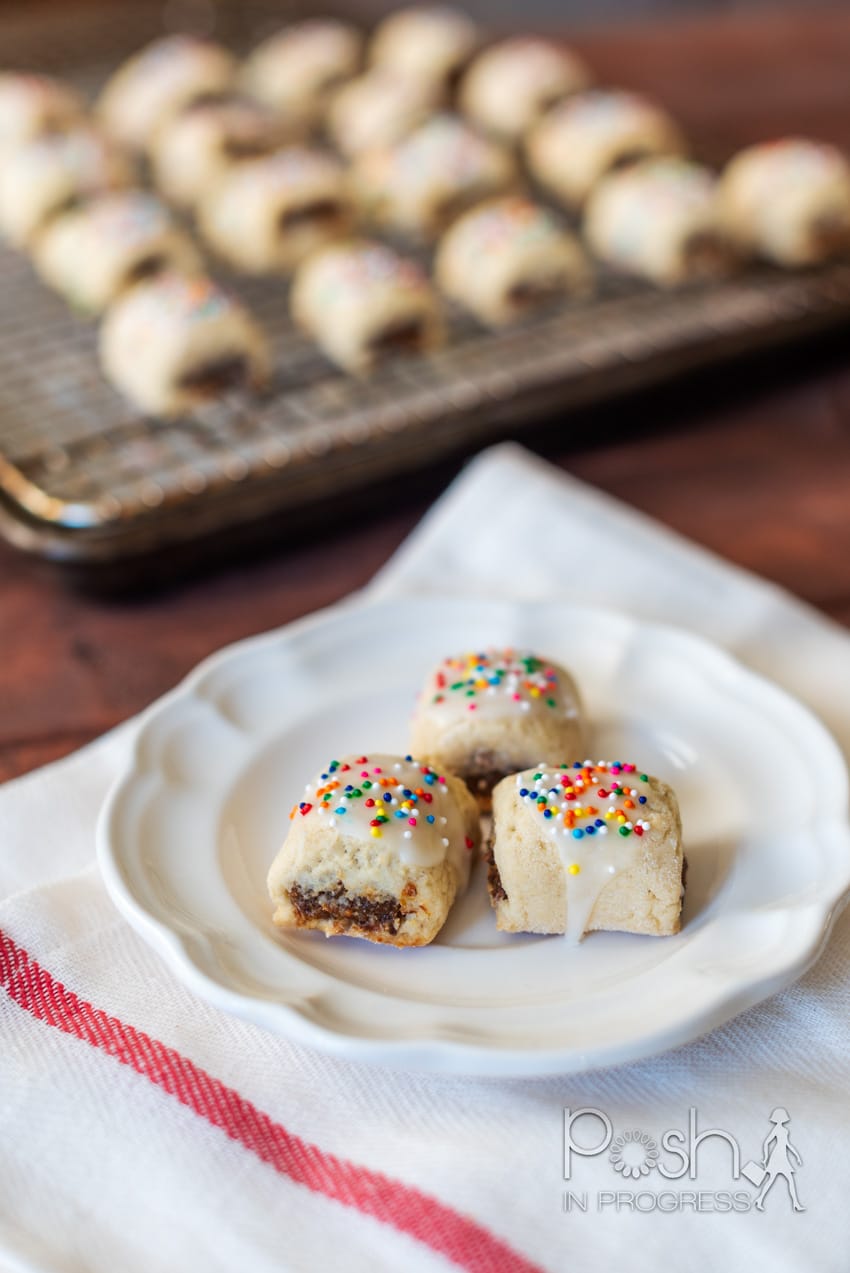
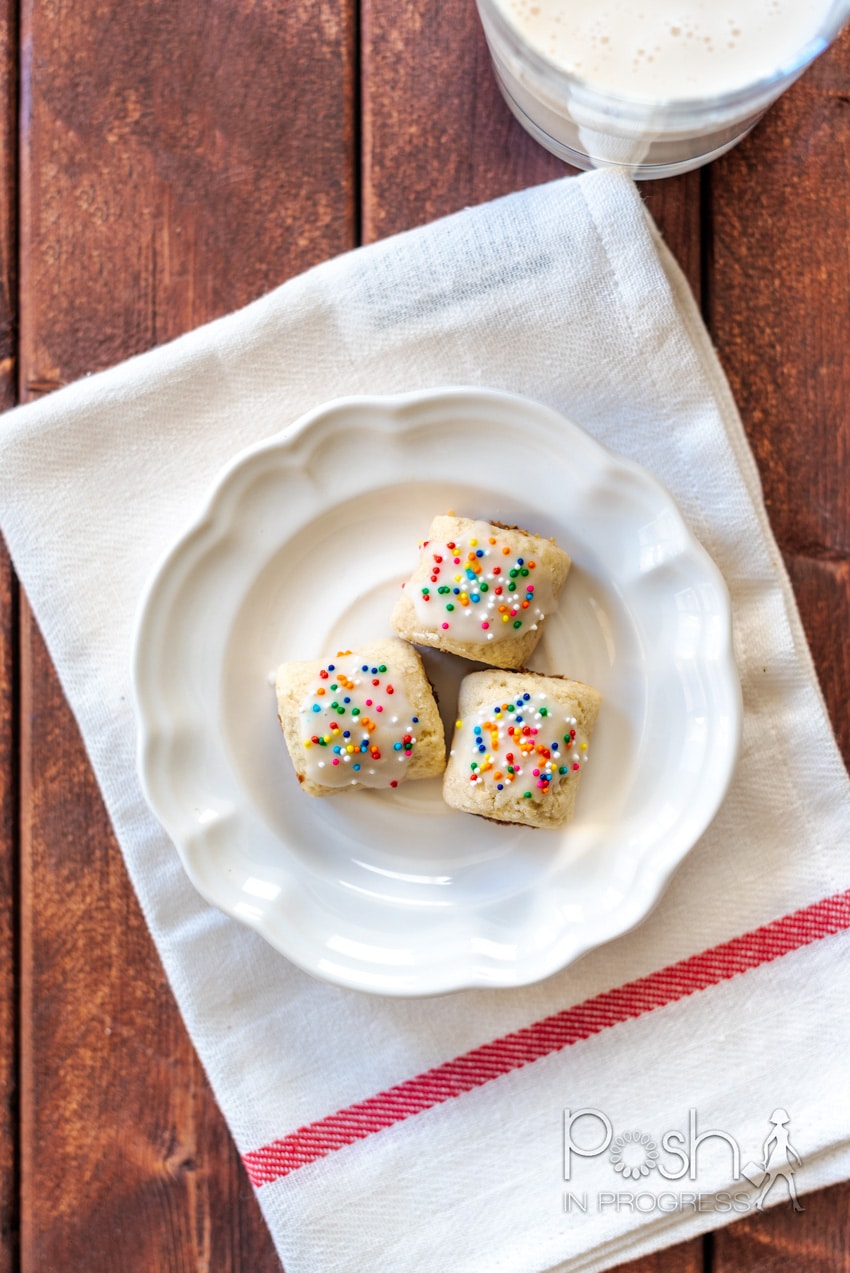
I’ve never made homemade fig cookies. I didn’t even realize that fig cookies, also known as cuccidati cookies, were an Italian thing. My research found that fig cookies originated in Sicily so they are sometimes called Sicilian fig cookies or Sicilian cuccidati cookies. Wikipedia tells me that cuccidati are also known as cucidati or buccellati. Whatever you decide to call them, they are fig-stuffed cookies traditionally served at Christmas time. The outer cookie is a pastry dough, although sweeter than most pastry dough I’m used to. They are cover in icing and typically topped with rainbow sprinkles – just as Italian easter cookies are. The filling is a combination of dried fruit, nuts, spices and jam. The cookies are made into a log and then cut into short tubs or “bracelets”.
Although the recipe calls for a lot of ingredients, nothing about it seemed very complicated. The majority of the steps are actually done right in your food processor. The dough takes only minutes to put together in the food processor. Also, the filling is equally simple to put together in the food processor.
The most difficult part of this recipe is the process of rolling out the dough and gently covering up the mixture with the pastry dough. I would suggest airing on the side of using too much flour when you roll out your dough. My first batch, I didn’t use enough flour and my dough stuck to the cutting board. Thus, my first batch was not very pretty. There were gaps in the dough that I had to use scraps to fill in. It just made for ugly looking cookies. They still tasted great, but looked horrible.
Despite the bad first batch, the second batch turned out wonderfully and they are so much better than store-bough fig cookies. The cool thing about this Italian fig cookies recipe is that it is totally adaptable. You can adjust the filling flavors to find a combination you love.
@poshinprogressHow to make Italian fig cookies, also called Sicilian fig cookies or cuccidati 😋 ##christmascookies ##homecooked ##familyrecipe
If you’re looking for other Italian recipes – you must try my panettone recipe and my Italian wedding cookies recipe.
Italian Fig Cookies Recipe (Cucidati)
1 cup all-purpose flour
3 Tbsp sugar
¼ tsp baking powder
¼ tsp salt
2 oz unsalted butter
¼ tsp vanilla extract
1 egg
1 tbsp milk
Filling:
½ cup dried figs
¼ cup dates
¼ cup raisins
2 tbsp blanched almonds
1 ½ tbsp honey
2 tbsp apricot preserves
¼ tsp cinnamon
To top
¼ cup confectioner’s sugar
½ tbsp lemon juice
nonpareils (small round sprinkles)
Directions:
Dough: Place the flour, sugar, baking powder and salt in a food processor and pulse briefly to mix. Add the butter, in small cubes, the vanilla and egg and pulse to form crumbs. Add the milk and pulse a couple times to bring the mixture together.
Remove the blade from the food processor and take out the dough. Knead it briefly (just once or twice) and bring the dough together in a ball. Wrap it in cling wrap/film and chill for at least an hour or two until firm or leave overnight. If you leave overnight, you may need to take it out 20min or so before rolling so it is not too cold.
Filling: Remove the tough stem from the fibs then chop them into roughly quarters. Roughly chop the dates, if not already chopped. Place the figs, dates, raisins, almonds, chocolate, honey, marmalade/jam, brandy/whisky and cinnamon in the food processor and blend until relatively smooth paste forms, scraping down and pulsing slightly more as needed.
Preheat the oven to 350F/175C. Line a baking sheet/tray with parchment or a silicone mat. Unwrap the cookie dough and roll it on a floured surface into a rectangle roughly 10in x 8in (25cm x 20cm). Neaten off the edges so they are relatively straight.
Assembly: Cut the piece of dough in half the long way (ie so you have two pieces around 10 x 4in). Separate the pieces of dough slightly to make them easier to work with and to make sure they are not stuck to the work surface. Divide the filling in two and use half to make a log the length of one of the pieces of dough, in the middle. Make sure it goes right to the end.
Roll over one side of the dough and keep rolling so it goes all the way rough and the join is on the bottom. It is fine if it overlaps slightly. Cut the log into slices roughly 1 -1 ½in (3-4cm ) in length. Transfer them to the lined baking sheet and then repeat with the rest of the dough and filling.
Bake the cookies for approximately 15 minutes until the dough looks slightly dry and they are just starting to brown at the edges and underneath. They may feel slightly soft on top but they should feel dry. Allow cooling a couple of minutes then transfer to a cooling rack to cool completely.
Glaze: Once the cookies have completely cooled, Place the cooling rack with the cookies over a baking sheet (to collect any dropped sprinkles). Sift the confectioner’s sugar into a small bowl. Add the lemon juice and mix until smooth. Drizzle/spoon a little of the glaze on top of around 3-4 cookies at a time then sprinkle on some sprinkles on top. Repeat with the rest. (Alternatively, you can turn the cookie over and dip them in the frosting, but it will likely run slightly and be a bit thicker. You will also need more glaze – I’d suggest making around double to have enough to dip in.)
Allow the glaze to dry before transferring to a container. The cookies will keep well for a good few days or more, the sprinkles may just bleed a little color.


