This is Why I’m Getting Invisible Aligners
I’m getting invisible aligners. When I told some people, they looked at me really strangely. “You have perfect teeth,” one friend told me. Yes, I did have braces when I was a teenager, and yes, my teeth are decent, but they are far from perfect. I think some other mamas can relate – my teeth shifted a lot when I got pregnant. I used to have perfectly aligned teeth. Now, I have a semi-straight, but not nearly perfect, teeth.
My biggest complaint is that my front teeth are no longer parallel. I have one tooth on the left, next to my front teeth, that juts in. I also don’t have enough of an overbite, my teeth almost side right on top of each other – not the bite I’m supposed to have, according to my dentist.
None of these issues are severe, nor would I have to get aligners, but I want my perfect teeth back! The teeth I had right after I had braces, that perfect smile that used to elicit compliments.
When Byte contacted me about pursuing invisible aligners, I jumped at the idea. I’d been considering a competitor for awhile. What I love about Byte is the convenience and affordability of their offering. The great thing about Byte is that you never have to go to a dentist’s office – the entire process happens right at home. You can get straighter teeth, without going to the dentist AND Byte has figured out how to cut the treatment time in half with their exclusive tool. They also provide teeth whitener, on top of it.
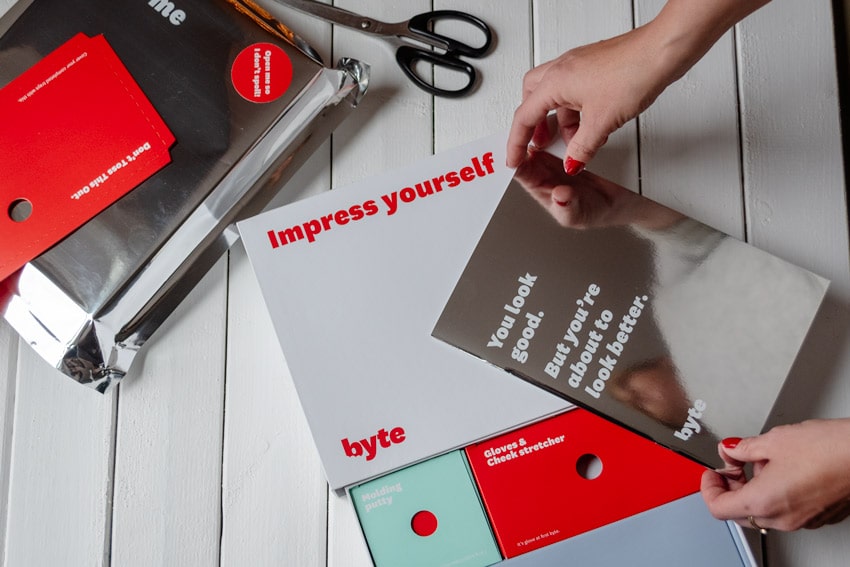
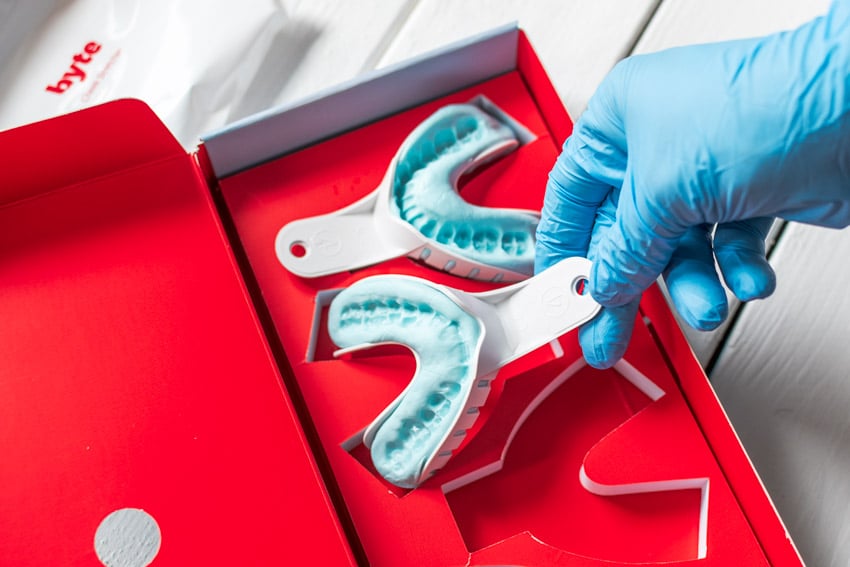
My Byte Kit arrived in the cutest packaging. After opening it and reading the instructions, I knew the process was going to be a breeze. They laid everything out so it was very clear how to move forward.
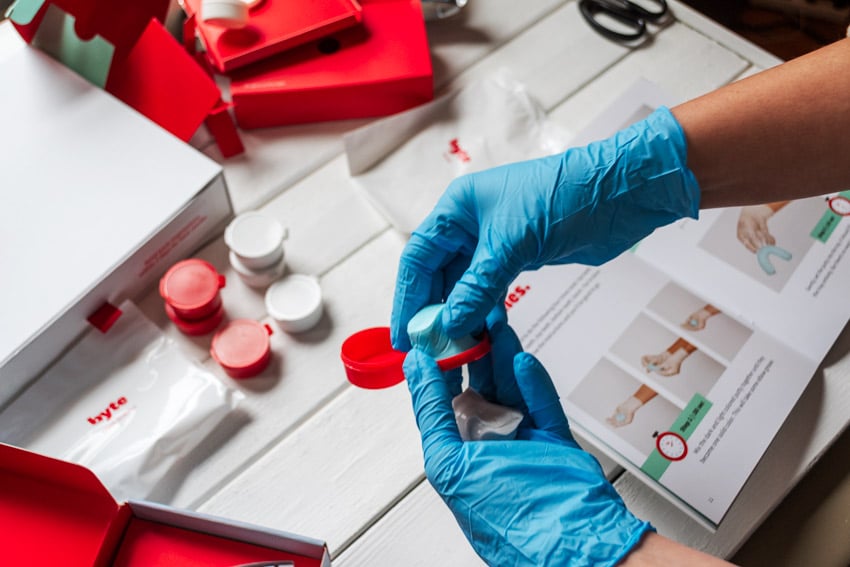
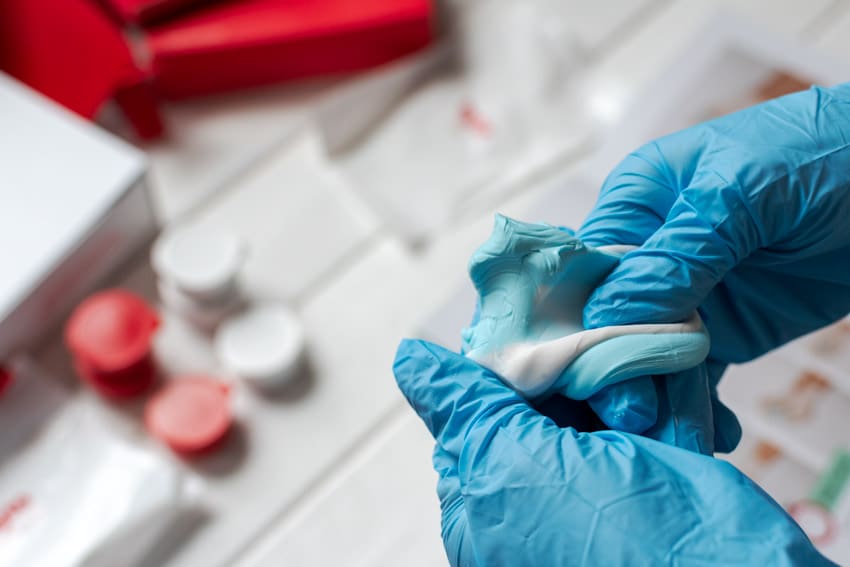
The entire process probably took about 20-30 minutes. In the comfort of your own home, you get to play with clay and make your own dental impressions. I actually found the process fun. I also loved that Byte provides four impressions – two for top and two for bottom. This is a nice touch because if you mess up one of your impressions, you don’t have to worry. You get two tries to get the perfect impressions.
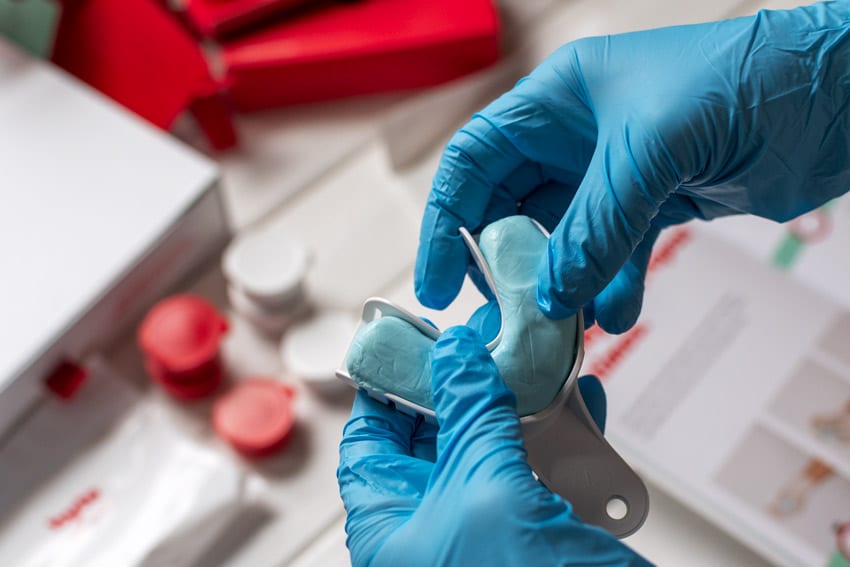
To be honest, I totally messed up one of my top impressions. I didn’t do it nearly deep enough – I didn’t apply enough pressure, so the impression didn’t work at all. I learned my lesson, and did better on the others.
Once you’re done with the impressions, you simply stick them in the pre-paid shipping envelop and send them off to Byte to get your aligners made. I just finished the process this week, so I’m still waiting for my aligners. I can’t way to get started!
If you’re considering invisible aligners, I definitely encourage you to check out Byte. Their process is seamless, so easy to follow, and so much more affordable than some of the other options out there.
As I go through this process and receive my aligners, I’ll update you! I’m also doing this with one of my good friends, so I’ll make sure I share both of our experiences with you. I can’t wait to show you my perfect smile!

This site uses selective affiliate links, which means a commission is earned if you make a purchase via the link. The price you pay will be the same whether you use the affiliate link or go directly to the vendor’s website using a non-affiliate link.
Our editorial content is not influenced by advertisers or affiliate partnerships. We appreciate, and thank you for, your support!