DIY Baking Soda Clay Ornaments

My mom posted this cute DIY handprint Christmas ornament on her Facebook page and I thought it seemed like a really fun activity to do with the kids. So last weekend, we set out to try this DIY baking soda clay to create handprint ornaments the kids could hang on our tree. I used this recipe as the basis for my baking soda clay DIY Christmas ornaments.

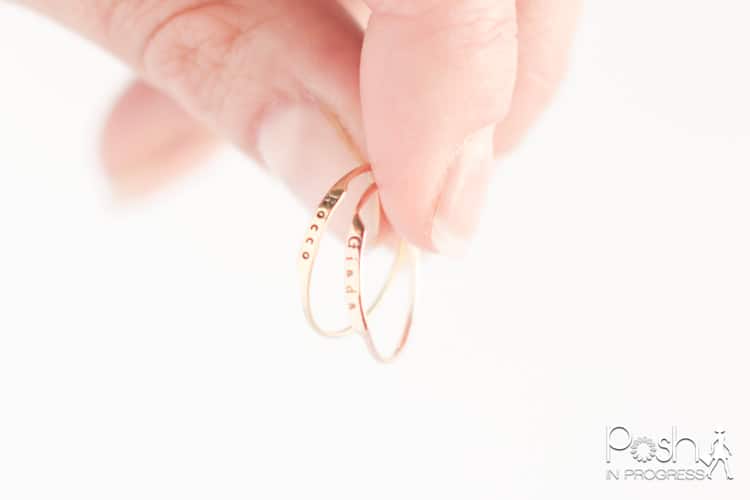
The clay itself is super easy to make. The bigger issue was that Gigi was not at all interested in participating in this craft. Rocco, on the other hand, loved it. He is really into playdough lately, so I think his age of 3, he is the perfect age for this craft.

While I spent time rolling out and cutting out the circles of clay, he happily played with a scrap pile of the dough. He made snowmen, cars, you name it. He was also a good sport about imprinting his hand, for which I think I have his preschool to thank — seriously, nearly every pile of artwork I receive has at least one handprint or footprint, which I so much enjoy.
Despite Gigi’s tantrums, I did manage to stick her hand in one of the circles, so I succeeded in getting both kids’ prints.
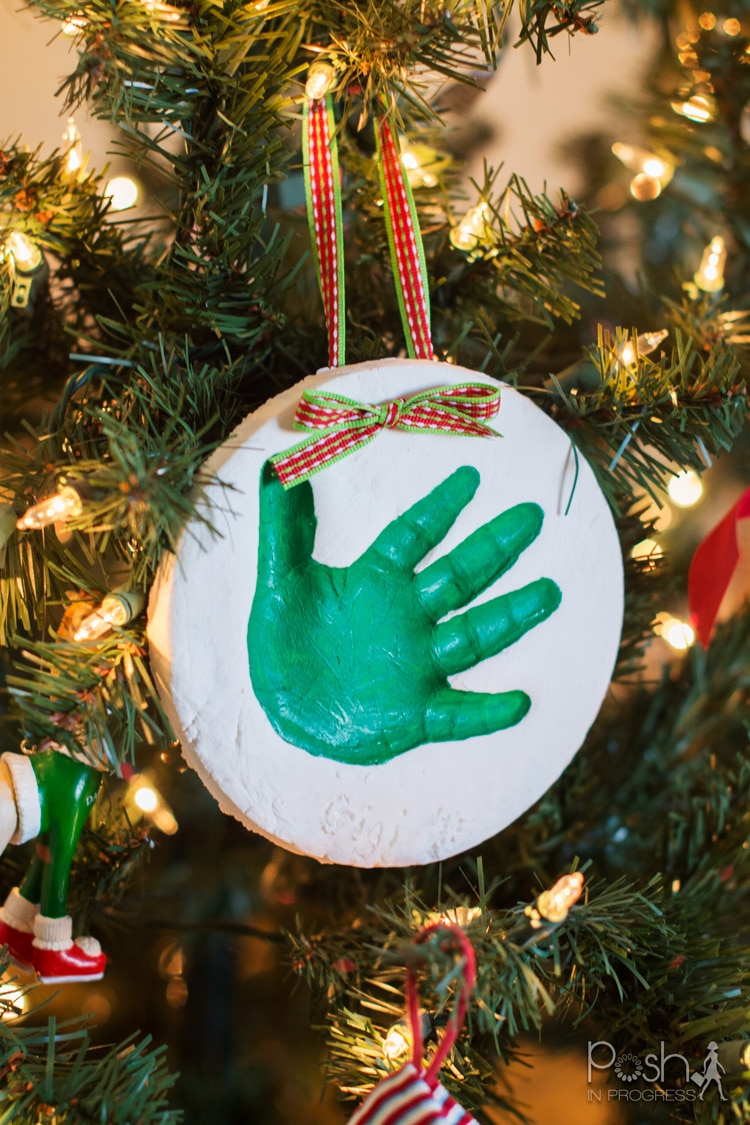
After drying for a couple days, I painted the handprint using green paint and a q-tip. I didn’t have any small paint brushes, and surprisingly, a q-tip worked really well! Once the paint was dry, I laced a piece of ribbon through the two holes and hung the DIY Christmas ornament on the tree. The kids love looking at their hands and it is a fun memory of Christmas 2015.
DIY Baking Soda Clay Ornaments Recipe
Ingredients
1 cup corn starch
2 cups baking soda
1.25 cups cold water
Materials
Non-stick pot
Wooden spoon
Med-large bowl
Damp cloth
Rolling Pin
Ring Mold (or bowl)
Paint (optional)
Ribbon or Yarn
Directions:
Combine ingredients in pot and stir until smooth.
Cook over low-medium heat, stirring constantly until the mixture resembles mashed potatoes. This took me about five minutes.
Remove from heat and let cool by transferring to a bowl covered with a damp cloth. I waited about 15 minutes to ensure the clay was cool enough for my kids to handle.
Use a rolling pin (I used a round glass) to roll out the dough. Measure the length of your child’s hand so you can find a ring mold or bowl to ensure the circle you create is large enough for his/her hand. Using a ring mold (or bowl), cut out a circle and remove the scraps back to the bowl and cover with the damn cloth. Help your child print his/her hand into the round circle.
Use a straw to create two small holes near one another. Ensure you don’t make the holes too close to the edge so they are less likely to break.
Allow the circle hand print to dry for 2-3 days depending on the size and thickness of your circle. I flipped ours over every day to ensure the back would dry too. Once dry, you can paint the handprint or the outside of the ornament. If you don’t want to paint it, you are ready to hang it on the tree by inserting a ribbon into the two holes so you can hang it on your tree.

This site uses selective affiliate links, which means a commission is earned if you make a purchase via the link. The price you pay will be the same whether you use the affiliate link or go directly to the vendor’s website using a non-affiliate link.
Our editorial content is not influenced by advertisers or affiliate partnerships. We appreciate, and thank you for, your support!