
How to Make this Kansas City BBQ Recipe at Home
This shop has been compensated by Collective Bias, Inc. and its advertiser. All opinions are mine alone. #GetGrillingAmerica #CollectiveBias
 We decided it was about time to make our own Kansas City BBQ recipe at home, here’s why. I miss living in Lawrence, Kansas for one major reason — access to great BBQ (I also miss these bumble bee cookies).
We’d regularly drive over to Kansas City to try all of the best-known (and loved) bbq restaurants. Our favorite was Oklahoma Joe’s, although we liked Arthur Bryant’s and Gates too. Since we haven’t been back to Kansas City since we moved in 2011, my hubby and I have been craving BBQ like crazy.
Now that it’s officially spring, it’s time to break out the grill. A lot of people are intimidated by grilling, but you don’t have to be. It’s actually super easy to create BBQ at home. You just need the right tools, the proper setup, good meat, and some time.
How Are You Going to Cook Your Meat?
 First, just so we’re all on the same page, barbecuing is cooking meat slow and low for hours, while grilling is cooking fast and hot for minutes. Since we wanted real Kansas City BBQ, we needed to cook the meat slow and low. Choosing the proper grill doesn’t have to be complicated. There are tons of options: gas grills, charcoal grills, wood pits, wood pellet smokers, etc. As we found, you don’t need a fancy smoker to make great BBQ. We used a popular kettle-style charcoal grill. It just took the proper indirect heat setup and a little more attention.
You Need the Proper Set Up for Smoking on a Charcoal Grill
 Using a charcoal grill is great because, since they are the most popular, it’s easy to find all the equipment you need if you are just a novice or infrequent pitmaster.
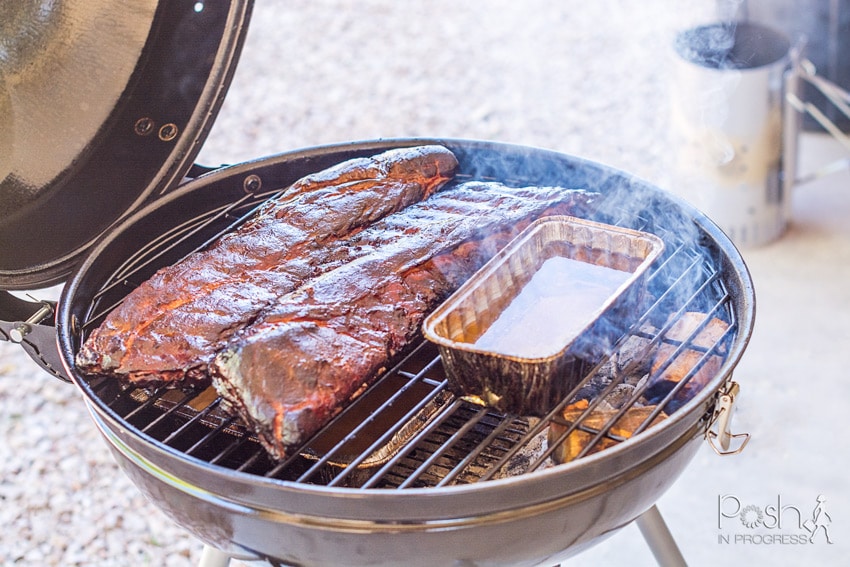
Making BBQ on a Charcoal Grill Requires Indirect Heat
To cook meat slowly and at a low temperature, the heat must not be directly under the meat, like it would be if you are grilling hamburgers. We used the two-zone method, where the charcoal and wood chunks are on one side of the grill, and the meat is on the other. To help keep the heat even, and to infuse moisture in the cooking environment, we placed disposable pans filled with water underneath the meat and on the grill over the charcoal.
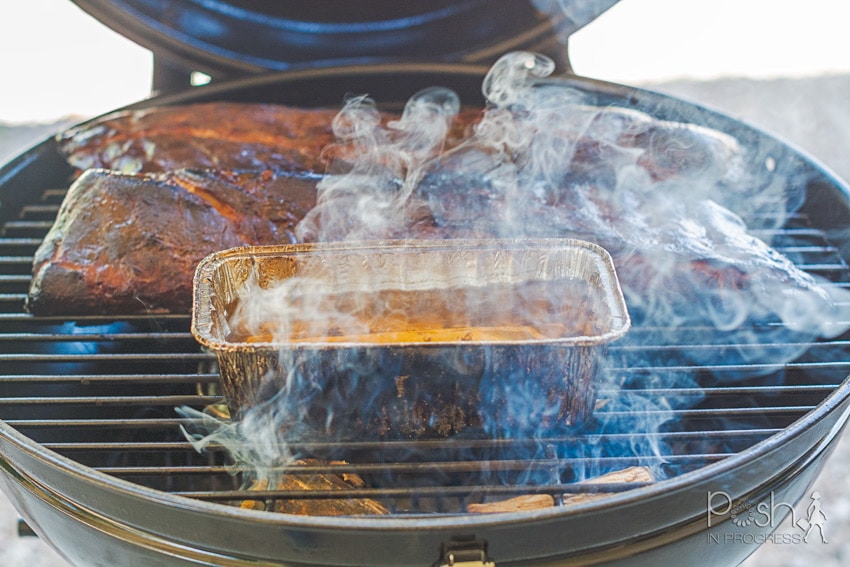
Thank You For Smoking
Barbecuing, at least in this country, is almost synonymous with smoking. Therefore, to infuse your meat with smoke, you need wood. If you are using a charcoal grill, wood chunks are a great option. Not only do they come in a wide range of flavors, they are commercially available at home improvement and grocery stores. My husband is partial to fruit wood, so we chose apple wood chunks. You place them right on the charcoal (no need to soak them) and they generate the smoke that gives the meat that great flavor.
Prepping the Meat for the Grill
We made a legendary spice rub, literally rubbed it on our ribs, and let the meat absorb it overnight (see below for spice rub recipe). The next day, we prepped the charcoal and the wood chips to start grilling. Then, we placed the ribs on the grill.
Are Things About to Get Saucy?
One of the biggest mistakes people making on the grill is applying BBQ sauce too early and then burning it. If you’re into really saucy ribs, you can apply sauce to the meat at the very end of cooking process, and grill them on the direct-heat side of the grill, which turn the sauce into a nice, almost crispy, glaze.
I actually prefer a really light sauce on the ribs. I’d rather add sauce at the table, but that’s just me. Obviously, there are tons of great BBQ sauces out there, but if you want to make your own, we riffed from this great homemade Kansas City BBQ sauce recipe.
Don’t Forget to Spritz
Pro tip: Spraying your meat every 30 minutes (or anytime you open the grill lid) is insurance against dry meat. You could use plain water, but why waste the opportunity to add even more flavor? Pro pitmasters use concoctions of all kinds, from fruit juices to soda to both of those mixed with alcohol. We used peach juice, and it created the sweet crunchy bark on the ribs that everyone loves so much.
In terms of the actual cooking, the optimal smoking temperature is 225 degrees. This is only somewhat difficult part of barbecuing on a charcoal grill because you need to pay attention to your coals. Maintaining that temperature for the 4-6 hours it takes for baby back ribs requires you to manipulate the vents on the grill to lower or raise the heat. (The thermometer on your grill is worthless. We used a separate oven thermometer next to meat to make sure our temps were right.) You will probably need to add more charcoal and wood every 60-90 minutes.
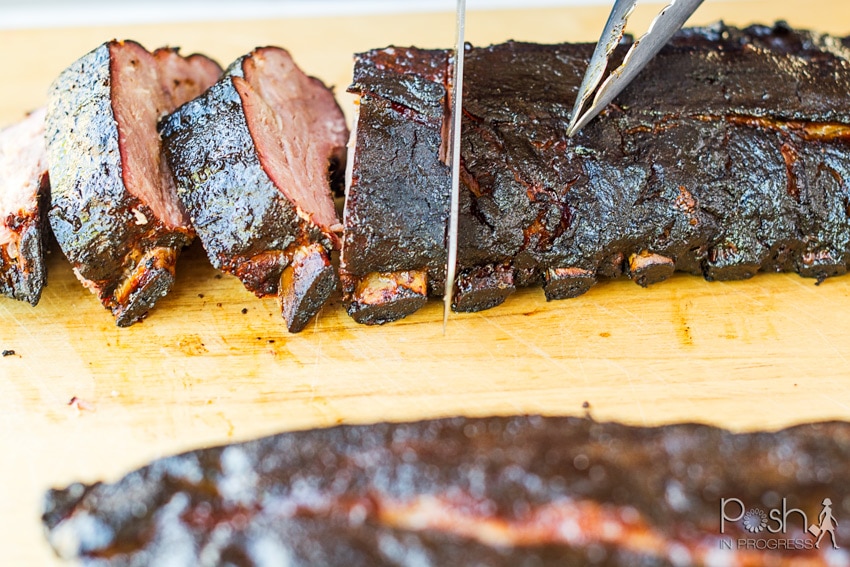
When your ribs are done cooking, (they start to break apart in the middle if you take both sides and bend them) you should let them rest for at least 5-10 minutes before cutting and serving.
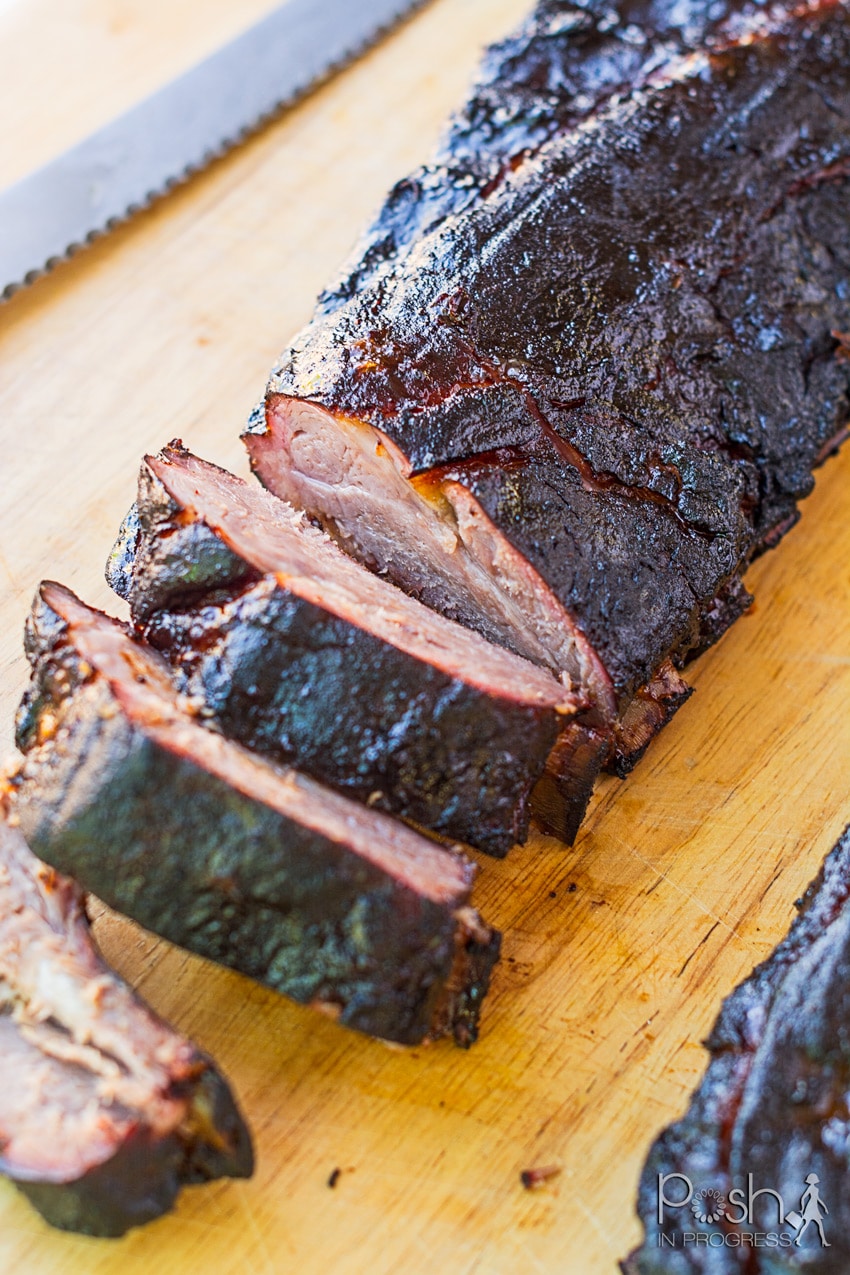
We Love Baby Back Ribs
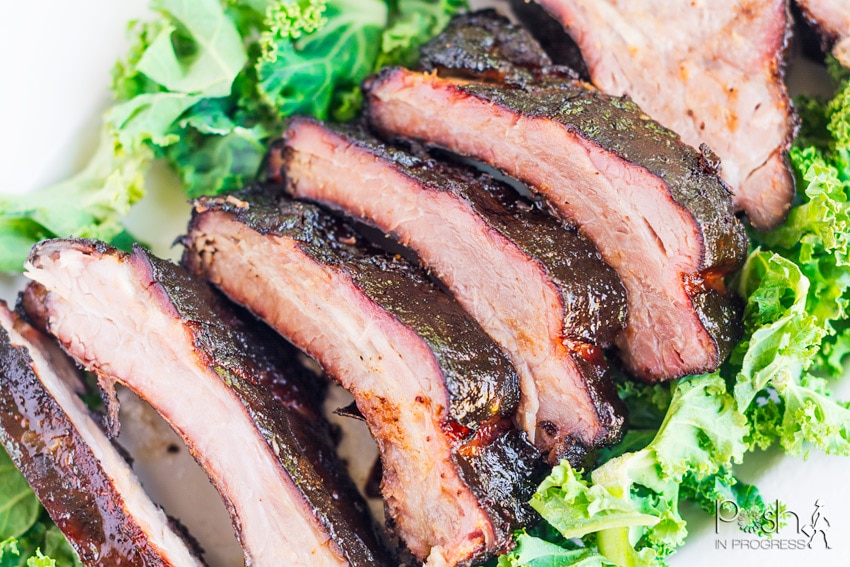 This recipe is as close to the Kansas City BBQ recipe as we could get. The ribs are tender and delicious. A major reason they are so tasty is because we used Smithfield Extra Tender Back Ribs. The Smithfield Ribs are hand-trimmed with no added hormones or steroids. They are extra tender, so even if you aren’t a grilling aficionado, you are sure to make great ribs because Smithfield Ribs ensure perfect grilling every time.
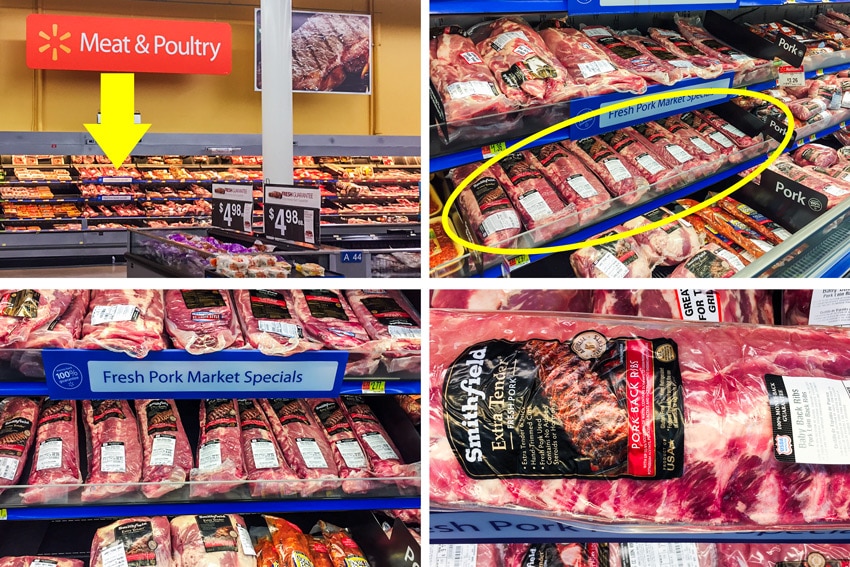
For more grilling tips, visit Smithfields’ Get Grilling America site for a chance to win $5,000 cash and many other prizes. You can get all of your favorite Smithfield ribs in the meat section at your local Walmart.
Kansas City BBQ Rub Recipe
(courtesy of Oklahoma Joe’s)
- 1/4 cup Salt
- 1/2 cup Brown Sugar
- 2 Tablespoons Sugar
- 2 Tablespoons Garlic Powder
- 2 Tablespoons Onion Powder
- 2 Tablespoons Smoked Paprika
- 1 Tablespoon Ground Black Pepper
- 1 Tablespoon Ground White Pepper
Blend ingredients thoroughly and apply to Beef, Pork or poultry before grilling or smoking.
So I haven’t had the chance to visit Kansas City yet, but I do love to grill, smoke, barbecue and everything in between! This sounds like one delicious ribs recipe, and it definitely needs to make an appearance on my back deck this summer. Thanks for sharing! #client